
Microscope slides and cover slips are essential tools in the world of microscopy, enabling scientists and students alike to explore the intricate details of microscopic specimens. The process of preparing these slides and cover slips might seem straightforward, but it’s an art that demands precision and attention to detail. In this guide, we’ll walk you through the steps of creating flawless microscope slides for your observations.
Table of Contents
- 1 Introduction
- 2 What is a Microscope Slides and Cover Slips
- 3 Gathering Your Materials
- 4 Preparation of Microscope Slides
- 5 Preparation of Cover Slips
- 6 Staining Techniques
- 7 Microscope Maintenance
- 8 Cleaning and Handling Slides and Cover Slips
- 9 Placing Cover Slips
- 10 Positively Charged Microscope Glass Slides
- 11 Laboratory Microscope Glass Slides:
- 12 FAQ Microscope Slides and Cover Slips
Introduction
Microscope slides and cover slips, the unsung heroes of the science world. These tiny pieces of glass are responsible for some of the biggest scientific discoveries in history. So, what are they exactly? Microscope slides and cover slips are thin pieces of glass that are used to hold specimens for observation under the microscope.
What is a Microscope Slides and Cover Slips
Microscope slides and cover slips are fundamental components in the field of microscopy, facilitating the examination of minuscule specimens that are otherwise invisible to the naked eye. These small, flat pieces of glass play a crucial role in holding and preserving specimens for observation under a microscope. Let’s delve into what microscope slides and cover slips are and how they contribute to the world of science and research.
Microscope Slides: The Foundation of Observation
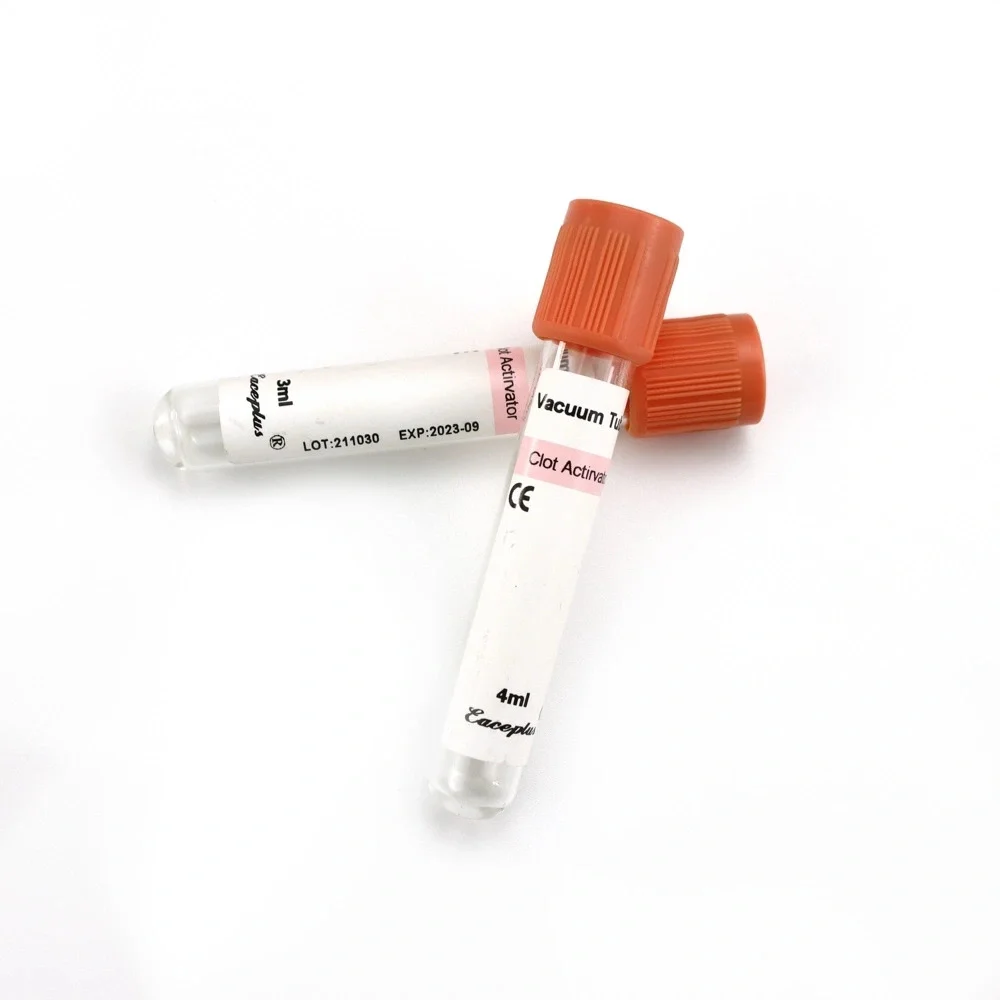
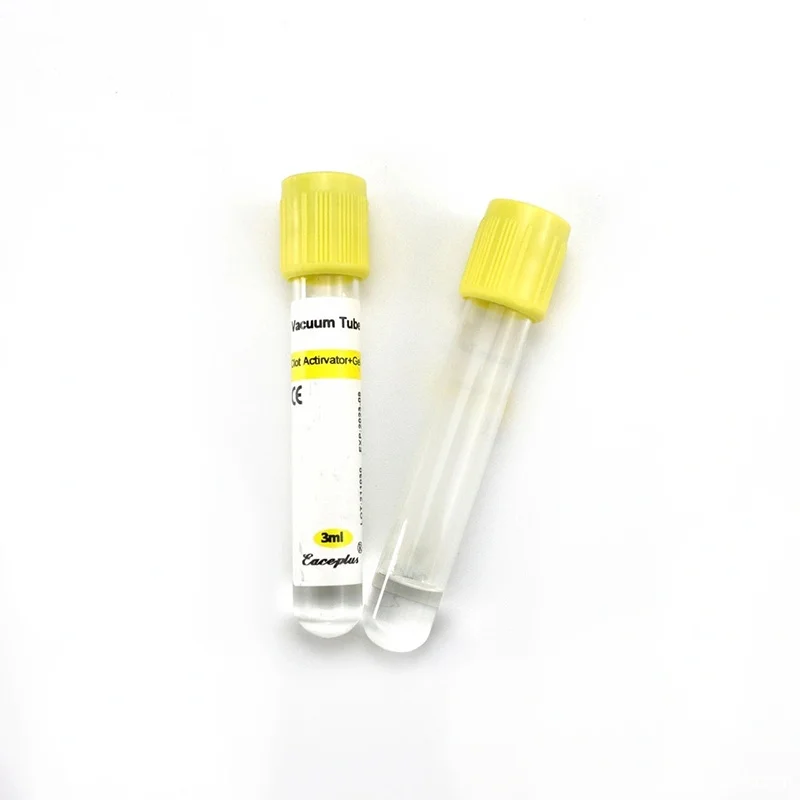
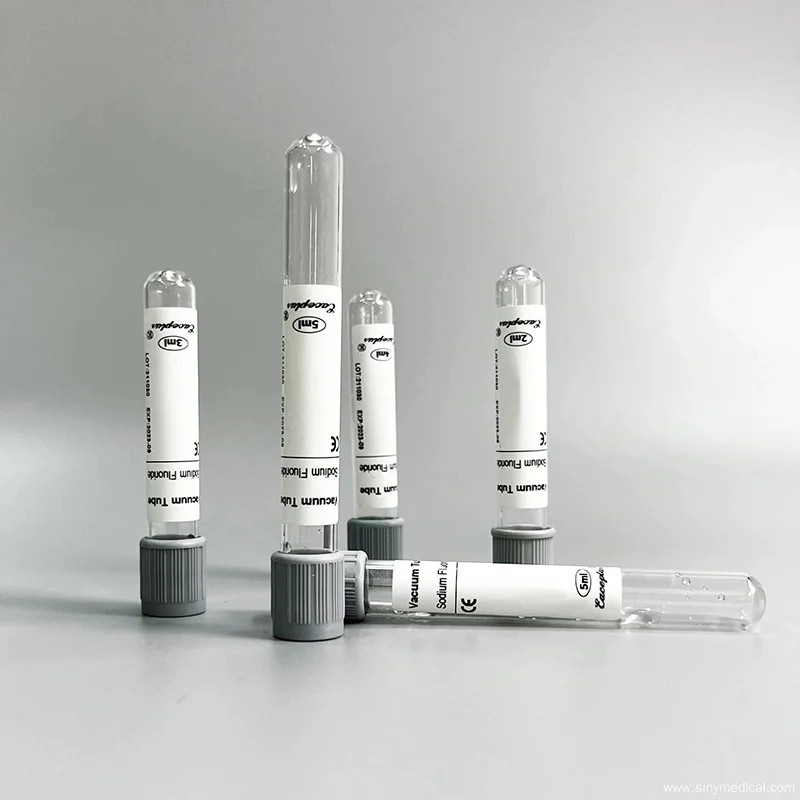
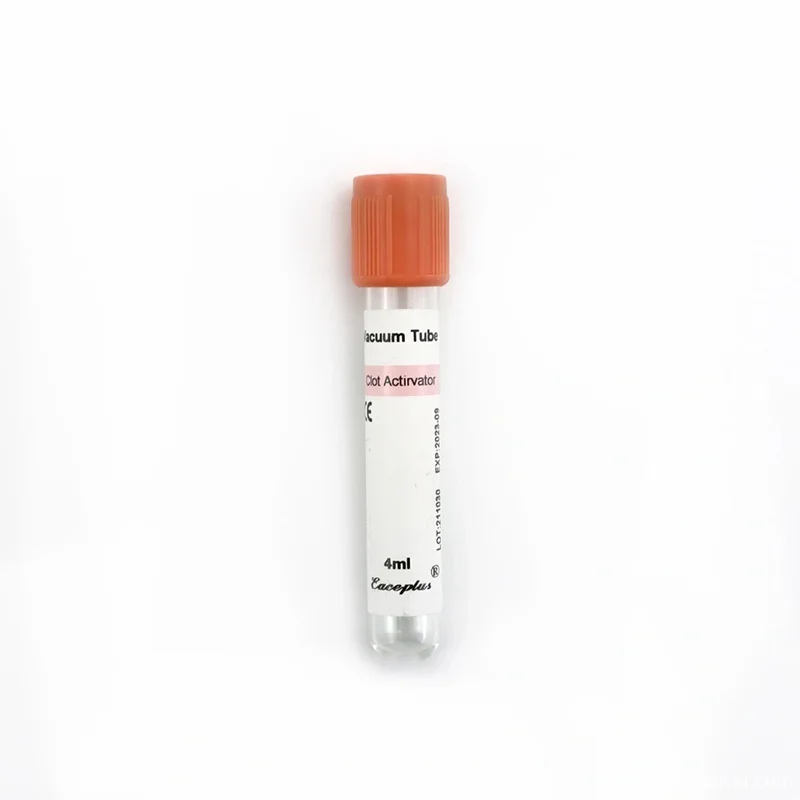
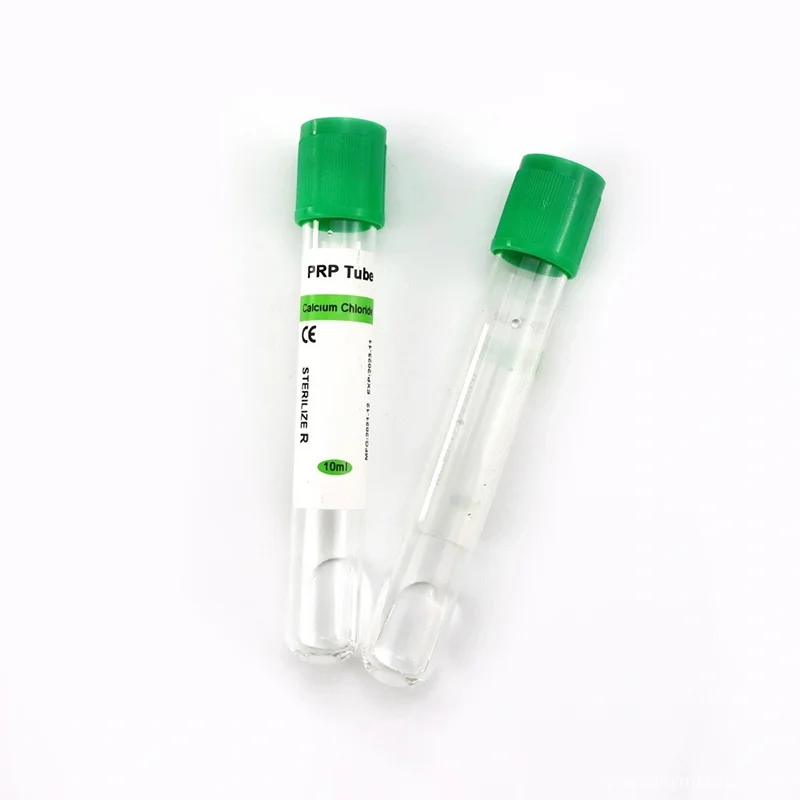
Microscope slides, often referred to simply as slides, are rectangular pieces of glass typically measuring around 1 inch by 3 inches (25mm by 75mm). These glass slides provide a stable and transparent platform for mounting specimens for microscopic analysis. Slides come in various thicknesses, with thinner ones being ideal for high-resolution microscopy, while thicker ones offer more durability.
Cover Slips: A Protective Layer
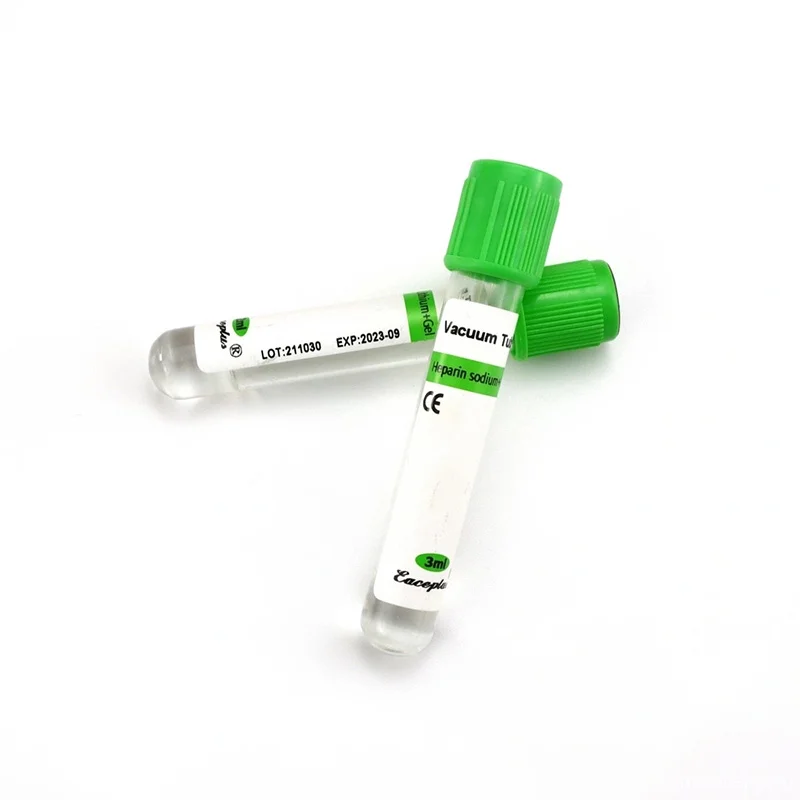
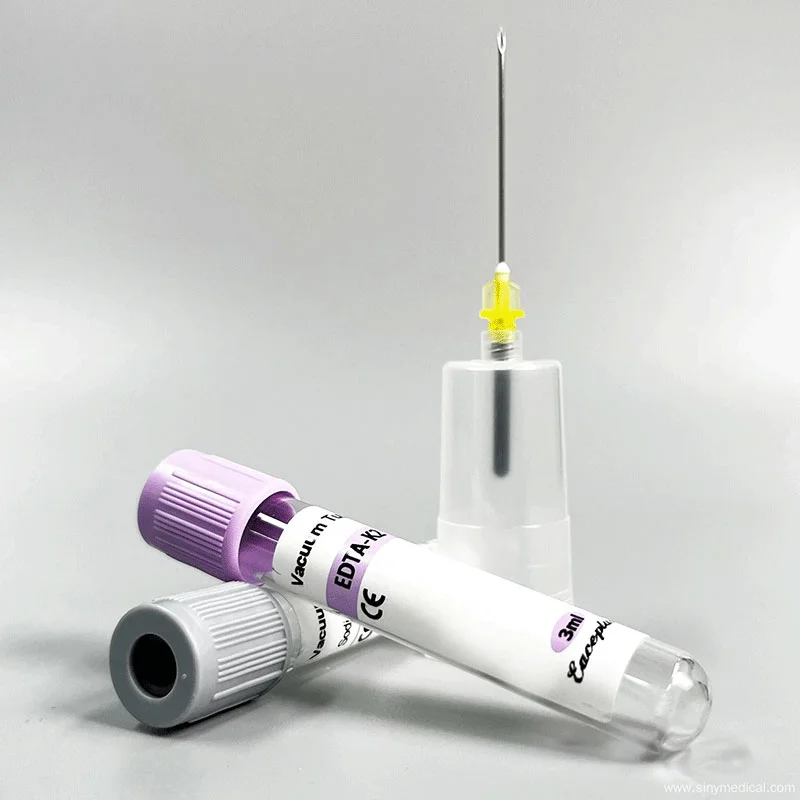
Cover slips, also known as cover glasses or cover plates, are smaller and thinner squares or circles of glass that range from around 0.13 to 0.2 millimeters in thickness. They are placed on top of the specimen mounted on a microscope slide. Cover slips serve two important purposes: they protect the specimen from damage and contamination, and they help evenly distribute the weight of the microscope’s objective lens.
Gathering Your Materials
First and foremost, gather the necessary materials. You’ll need microscope slides, cover slips, the specimen you want to observe, a dropper, and a mounting medium. Having everything ready before you begin ensures a smooth and efficient process.
A few tools and materials are essential to prepare precise microscope slides and cover slips. These include the microscope slide, cover slips, pipette, dropper, staining agents, and mounting media. Microscope slides and cover slips are the foundation of every microscopic study and help observe the sample under the microscope. A pipette and dropper are handy tools to accurately measure and transfer small amounts of liquids. Staining agents and mounting media are the keys to getting a clear and enhanced view of the sample. With the appropriate materials, the preparation of precise microscope slides is achievable. However, an unsteady hand and a less cautious attitude could result in low-quality slides and wasted materials.
Preparation of Microscope Slides
Let’s start with the cleaning of slides. Before preparing the slides, clean them with soap water, rinse with distilled water, and finally, with ethanol to remove any remaining impurities. Once cleaned, let them dry before using them for specimen preparation.
Now comes the preparation of the specimen. This requires proper fixation, staining, and mounting of the tissue or organism onto the slide. Depending on the type of specimen, this can involve various methods to ensure optimal results. Make sure to follow the correct protocol.
Labeling and arranging the slides is also important. Label each slide with the specimen’s name and the date of preparation. Arrange the slides in order and carefully store them in a slide box to prevent damage.
The preparation of microscope slides is a crucial step in the overall process. A single mistake can ruin the entire experiment. So, please pay attention to every detail and handle it with care.
Choosing the Right Slides and Cover Slips
Choosing the right slides and cover slips can make all the difference in your microscopic adventures. It’s like choosing between the classic glass and the trendy plastic slides – an unbeatable battle.
Glass slides have been around for ages and have quite a reputation. They provide excellent clarity and durability, enduring the test of time (and numerous washes). Plus, they give off that traditional vibe that makes you feel like a true scientist. On the other hand, plastic slides are the hipsters of the microscope world. They’re lightweight and disposable, bringing a level of convenience that glass slides can only dream of. Just make sure not to accidentally mistake them for a piece of shiny candy!
Now, let’s talk about coverslips. When selecting these delicate little squares, there are a few things to consider. Thickness matters—too thin, and it might crack under the pressure; too thick, and it might throw off your focus. You want to find the Goldilocks of coverslips that are just right for your sample.
Also, pay attention to the size. A cover slip that’s too small might leave your precious sample hanging out in the open, exposed to the elements (and an accidental sneeze). On the other hand, a cover slip that’s too large might end up covering more than just your sample, like that tiny gnat that got trapped in the slide.
Talk about unexpected biodiversity! So, choose wisely, my fellow microscopists. Whether you go for the classic glass slides or the trendy plastic ones, and whether you find the perfect cover slip that fits just right, remember that the world of microscopy is at your fingertips (well, actually, under your objective lens).
Preparation of Cover Slips
We know microscope slides are important to study specimens, but the coverslips are just as crucial. A cover slip should be firmly secured on top of the studied specimen to avoid air bubbles. Cleaning coverslips will eliminate dust particles that can cause blurriness in the image. Rubbing alcohol does the trick to clean coverslips; cloth, paper towels, or lens paper can be used to wipe them clean. But be cautious; fingerprints can affect the quality of your observation.
The use of mounting media is necessary when preparing a cover slip. Mounting media is a clear liquid dropped onto the specimen to help the cover slip-stick to it. Apply it judiciously, as the extra mounting media may leave air bubbles.
Air bubbles that enter the coverslip must be avoided at all costs, so watch for them. Air bubbles can be visible to the naked eye, and you can get rid of small bubbles by pressing down on the cover slip with a pipette. If you can’t eliminate them, you may contaminate subsequent specimens and have to start all over again.
Staining Techniques
Staining techniques are crucial for the preparation of microscope slides, as they enhance visibility by highlighting the various structures present in the specimen. You can use simple staining, which uses a single dye to highlight the entire specimen, or differential staining, which uses multiple dyes to highlight specific components such as the cell wall, nucleus, mitochondria, etc. Gram staining is one of the most common differential techniques to differentiate bacteria based on their cell wall composition.
In contrast, acid-fast staining is used to differentiate between acid-fast organisms and non-acid-fast organisms. Despite being extremely useful, staining techniques require proper handling of the staining agents and diligent adherence to the protocol. For example, Gram staining has strict requirements for washing and timing. So, pay attention to the steps and beware of those mistakes that can cause big mishaps.
Microscope Maintenance
I can provide information on microscope slide preparation. It is crucial in microscopy to ensure that your samples are properly mounted on slides and cover slips. Here are the steps to follow strictly:
1. Clean your slides and cover slips thoroughly with soap and water or an alcohol-based cleaner to remove dirt, grease, or fingerprints.
2. Dry the slides and cover slips with a lint-free cloth or air dry them.
3. Apply a small drop of mounting medium or culture medium onto the center of the slide.
4. Carefully place the specimen onto the mounting medium’s center, ensuring to avoid any air bubbles.
5. Add a drop of the mounting medium onto the specimen, careful not to overflow.
6. Gently lower the coverslip onto the mounting medium, avoiding air bubbles.
7. Press gently on the cover slip to remove any remaining air bubbles.
8. Label your slide with the specimen name, date, and other relevant information.
Following these steps will create high-quality microscope slides and obtain accurate results from your microscopes. Always handle slides and cover slips carefully to ensure their longevity and reusability.
Cleaning and Handling Slides and Cover Slips
To ensure accurate microscopy results and the longevity of your equipment, it is essential to properly clean and handle slides and cover slips. Here are the steps to follow strictly:
1. Clean your slides and cover slips thoroughly using soap and water or an alcohol-based cleaner to remove dirt, grease, or fingerprints.
2. Dry the slides and cover slips using a lint-free or air-drying cloth.
3. Avoid touching the center of the slide or cover slip to prevent contamination.
4. Handle the slides and cover slips by their edges to avoid leaving fingerprints or oils.
5. Store the slides and cover slips in a clean, dry place to prevent dust and debris from accumulating.
Placing Cover Slips
Placing cover slips on microscope slides requires finesse and patience:
- Ensure the slide is clean and dry before adding your sample and any necessary staining solutions.
- Take hold of a clean cover slip with forceps or your fingers (if properly sanitized). Angle the cover slip towards the slide and slowly lower it onto the sample, carefully avoiding trapping any air bubbles. Gently press down on the coverslip to ensure it is securely in place, but be cautious not to apply too much pressure and damage the sample.
- Wipe away any excess liquid or staining solution from the edges of the coverslip, and your slide is ready for microscopy!
Positively Charged Microscope Glass Slides
Innovation continues to unfold in the realm of microscopy, with positively charged microscope glass slides emerging as a game-changer. These specialized slides offer a unique advantage by incorporating a positive charge on their surface. This seemingly small tweak carries substantial benefits, enhancing specimen adhesion and enabling more accurate analyses. Let’s delve into the world of positively charged microscope glass slides and explore how they transform microscopic research.
Understanding Positively Charged Microscope Glass Slides
Positively charged microscope glass slides are engineered with a thin layer of positively charged material on their surface. This electrostatic charge creates an attraction between the slide and negatively charged specimens, such as cells or tissues. This interaction promotes stronger adhesion of specimens to the slide, preventing their detachment during the staining, washing, or analysis processes.

Advantages of Positively Charged Slides
- Enhanced Specimen Adhesion: The primary benefit of these slides is their ability to firmly grip specimens. This results in an even distribution of cells or tissues, reducing the risk of clumping or uneven spread.
- Improved Staining: The enhanced adhesion ensures that specimens remain intact during staining procedures, minimizing the loss of samples. This leads to more accurate staining patterns and better visualization under the microscope.
- Consistent Analysis: The secure attachment of specimens translates to more consistent and reliable results. Researchers can have greater confidence in the accuracy of their observations.
- Reduced Background Noise: Enhanced adhesion reduces the chances of cells detaching and floating away during the washing steps. This reduces background noise and improves the clarity of microscopic images.
Laboratory Microscope Glass Slides:
Certain tools stand as steadfast pillars of scientific exploration in the intricate domain of laboratory research. The unassuming yet indispensable laboratory microscope glass slide takes center stage among these. These unobtrusive pieces of glass serve as the canvas upon which scientists paint their observations of the microscopic universe. Let’s delve into the significance of laboratory microscope glass slides and their vital role in unraveling the mysteries that lie beyond the naked eye.
The Foundation of Observation
Laboratory Microscope Glass Slide, often called microscope slides, are the foundational components upon which microscopic specimens are mounted for scrutiny under a microscope. These flat pieces of glass provide stability and support to the specimen, allowing for precise observation and analysis. Typically measuring about 1 inch by 3 inches (25mm by 75mm), these unassuming platforms serve as the canvas for the microscopic artist—the researcher.
Versatility and Adaptability
Microscope slides come in a range of variations to suit diverse research needs. Frosted slides feature a frosted end, conducive to labeling and note-taking. Pre-cleaned slides are ready for immediate use, sparing researchers the time-consuming task of cleaning and preparing them. Furthermore, specialized slides cater to specific applications, such as fluorescence microscopy or cytogenetics.

Sample Preparation and Examination
Working with laboratory microscope glass slides involves meticulous attention to detail. A specimen, be it a tissue section, a cell culture, or a microorganism, is delicately placed onto the slide. A mounting medium, often a gel or liquid, is added to enhance visibility and maintain the specimen’s integrity. A cover slip is gently lowered onto the specimen to prevent distortion, preserve the sample, and ensure a clear field of view for microscopic analysis.
A Glimpse into the Microcosm
Microscope slides hold the power to reveal the hidden intricacies of the microscopic world. From unraveling the structural nuances of cells to deciphering the interactions between molecules, these unassuming platforms enable scientists to peer into realms once shrouded in obscurity. Microscope slides, combined with the prowess of modern microscopy techniques, empower researchers to advance our understanding of biology, medicine, materials science, and beyond.
Preserving Knowledge and Progress
The insights gleaned from the observations made on laboratory microscope glass slides contribute to the ever-growing pool of scientific knowledge. Whether it’s diagnosing diseases, understanding cellular processes, or designing innovative materials, these unassuming pieces of glass play a vital role in the continuous advancement of human understanding and progress.
Conclusion
Mastering the art of preparing microscope slides and cover slips is challenging. It takes dedication, precision, and a meticulous eye for detail. But fear not, my fellow scientists, because once you have honed this skill, you will turn ordinary preparations into extraordinary observations.
The key to mastering the art lies in understanding the importance of each step and its impact on the final result. Every little detail matters, from gathering the right materials to labeling your slides for better organization. So, please don’t underestimate the power of a properly collected sample and the techniques you employ to prepare it.
But the real challenge comes when it’s time to place the cover slip with finesse. Applying the sample drop just right, avoiding those pesky air bubbles, and positioning the cover slip snugly are the secrets to achieving flawless slides. Remember, precision is your best friend here. As for those extra tips, pay attention to cleaning your slides and cover slips.
It’s not just for neat freaks; it ensures clear observations and prevents smudges. And when it comes to securing your masterpiece, explore different mounting media options to find the perfect fit. Remember to store your slides, and cover slips like a boss because a well-preserved collection is valuable. Now, let’s address those common mishaps that can make your heart skip a beat.
The dreaded smudge, the elusive air bubble, and the rebellious cover slip – we’ve all been there. But fear not! With a little troubleshooting knowledge, you’ll confidently tackle these challenges. So, my aspiring microscopists, armed with the knowledge shared in this blog, can conquer the delicate art of preparing microscope slides and cover slips. With patience, practice, and a dash of creativity, your seemingly ordinary preparations will yield extraordinary observations.
FAQ Microscope Slides and Cover Slips
Why is it Important to Place the Cover Slip on the Slide?
Placing a cover slip on a microscope slide is crucial for several reasons:
- The cover slip acts as a protective barrier, preventing dust, debris, and contaminants from coming into direct contact with the specimen. This ensures that the specimen remains unaltered during observation.
- The cover slip helps evenly distribute the weight of the microscope’s objective lens, preventing undue pressure on the specimen.
- The cover slip helps to reduce the risk of introducing air bubbles, which can interfere with clear imaging.
By properly placing the cover slip, the specimen is shielded, and the quality of observation is enhanced.
How Should Glass Slides and Cover Slips be Properly Held?
When handling glass slides and cover slips, it’s essential to exercise care and precision. Hold the glass slide by its edges to avoid leaving fingerprints or smudges on the surface. This ensures that the specimen remains clear and undistorted during observation. Similarly, hold the cover slip by its edges or use fine forceps to prevent any accidental contact with the surfaces that will come into contact with the specimen and the mounting medium. Proper handling not only maintains the integrity of the specimen but also ensures the quality of the microscopic view.
Why is it Necessary to Cover the Specimen with a Cover Slip?
Covering the specimen with a cover slip serves multiple purposes. Primarily, it protects the specimen from drying out and preserves its natural characteristics. This is especially important when working with living organisms or delicate samples. Additionally, the cover slip prevents direct contact between the specimen and the microscope’s objective lens, reducing the risk of damage to both the lens and the specimen. The cover slip also helps create a uniform thickness of the mounting medium, which is essential for achieving clear and accurate microscopic images.
Why is the Cover Slip Placed at an Angle When Using a Microscope?
Placing the cover slip at a slight angle when positioning it on the specimen is a technique used to minimize the formation of air bubbles. Air bubbles can distort the view and interfere with accurate observation. By placing the cover slip at an angle and then gradually lowering it, any trapped air can escape as the cover slip makes contact with the specimen and mounting medium. This technique helps ensure a bubble-free and clear field of view, enhancing the quality of microscopic analysis and observation.